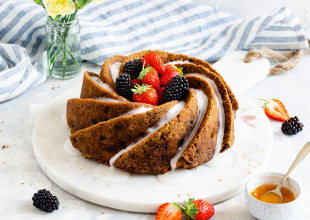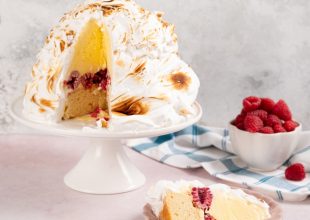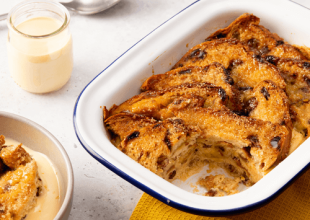
Baked Alaska: A Showstopper Dessert For Any Occasion!
Discover the secrets of crafting the perfect baked Alaska! From its history to a simple recipe, learn how to impress your guests with this show-stopping dessert.
Baked Alaska, the name alone conjures up images of a lavish dessert that’s reserved only for special occasions. But here’s a secret: It’s not actually as complicated as it may seem.
Read on to explore our simple baked Alaska recipe and discover the answers to some commonly asked questions about this timeless treat.

What is baked Alaska?
This is a dessert with a history that spans centuries; a showstopper that’s perfect for any gathering. Its dramatic presentation and exquisite taste are sure to impress your guests!
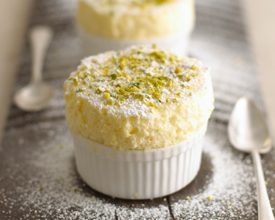
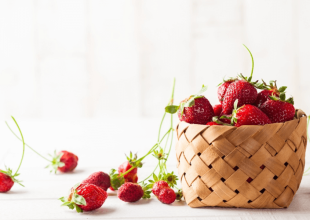
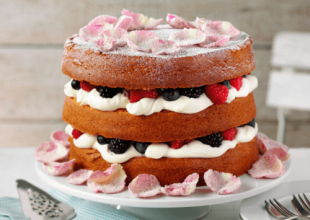
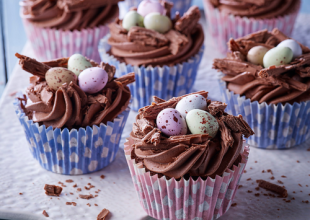
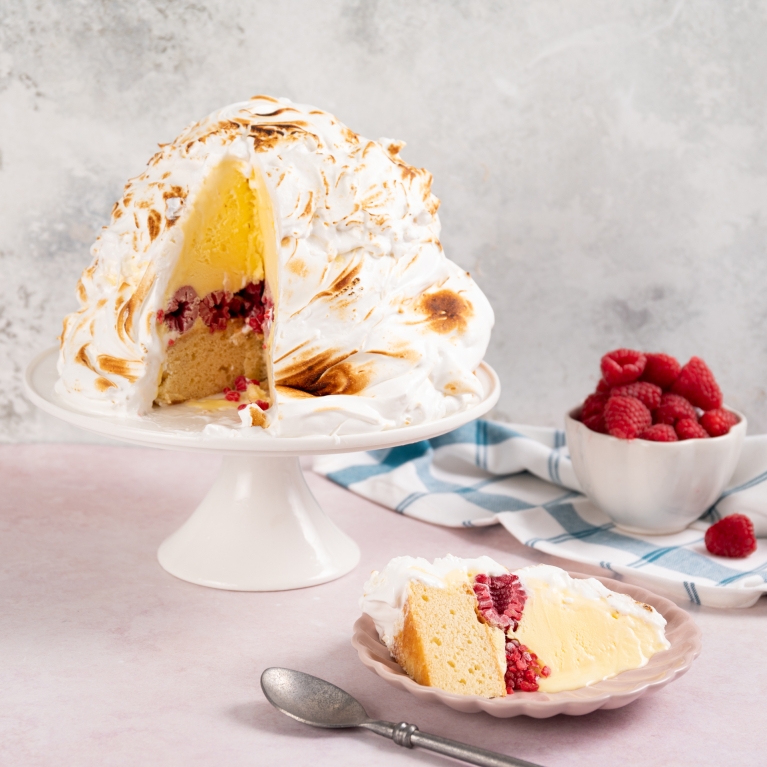
Baked Alaska is a glorious blend of meringue, ice cream and cake. However, the real charm of this dessert lies in its versatility.
While the classic version typically features vanilla ice cream atop a vanilla sponge cake, the possibilities for creativity are endless. You can let your imagination run wild, experimenting with different flavours to make your own unique baked Alaska.
Why is it called baked Alaska?
Curious about the name? Well, it’s actually a nod to its history. It’s thought that this dessert was created to celebrate America purchasing Alaska from Russia in 1867.
The name reflects the contrast between the toasted meringue and cold ice cream – a culinary metaphor for the chilly Alaskan climate versus the warmer USA.
What’s the difference between bombe Alaska and baked Alaska?
Both are delicious desserts, but the key difference lies in how they’re served. Bombe Alaska is flambéed, which means it’s covered in rum or brandy and set on fire before serving. This adds a tasty smoky flavour, not to mention a stunning visual effect.
In contrast, baked Alaska is (not surprisingly) baked in the oven until it has a glorious golden-brown colour.
Another distinction is that bombe Alaska is usually served with a sauce, such as a luscious chocolate sauce or velvety crème anglaise, while baked Alaska is usually served by itself.
How does the ice cream not melt in baked Alaska?
Now, I know what you’re thinking; if it’s baked in the oven, how on earth does the ice cream not melt?! Well, believe it or not, there are no magic spells involved. The ice cream actually stays intact thanks to the insulating power of the meringue.
The secret lies in the air – meringue is full of tiny air bubbles, and air happens to be an excellent insulator. This serves as a barrier with prevents the intense heat of the oven from reaching the precious ice cream inside.
However, it’s crucial to note that your baked Alaska should only spend a short amount of time in the oven, just enough to give the meringue a beautiful golden-brown finish.
While the meringue will insulate the ice cream, it’s only a temporary shield. Given enough time in the oven, the ice cream will inevitably start to melt.
Crafting your own baked Alaska masterpiece
With all your burning questions answered, it’s time to get stuck in! We’ve got an easy-to-follow baked Alaska recipe with all the details and ingredients you need, but here’s a sneak peek of the process:
Choosing the ice cream
1. The first step is to choose your ice cream flavour. The possibilities are limited only by your imagination, so feel free to experiment.
For tips on how to make irresistible ice cream, delve into our article: 5 Cheap Ice Cream Recipes to See You Through the Summer. Alternatively, you can explore our collection of straightforward ice cream recipes, including:
2. To prepare the ice cream base, begin by lining a large bowl with a piece of plastic wrap (also known as cling film), allowing the edges to drape over the sides for easy removal later. Then, gently press the softened ice cream into the bowl.
3. Now you’ve added your ice cream to the bowl, press it down firmly to make sure there are no gaps. Then, smooth the top and pop it in the freezer, allowing it to completely solidify.
Baking the cake
1. Start by greasing a round cake tin with butter and line it with greaseproof paper. This will make it easier to remove and prevent your cake from sticking to the tin.
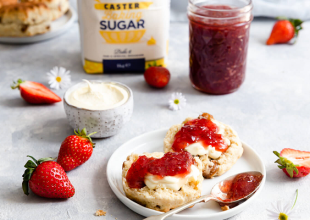
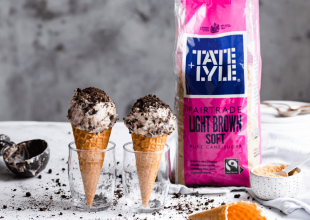
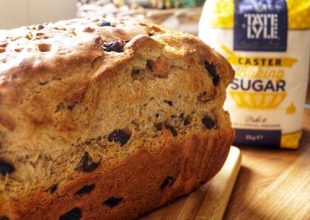
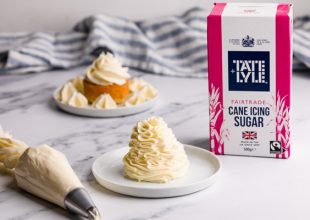
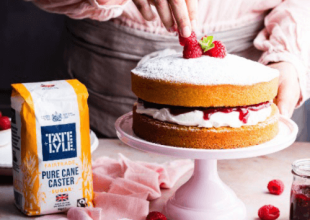
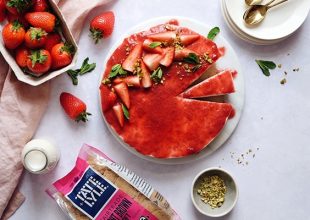
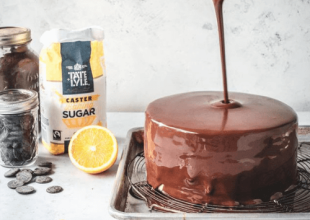
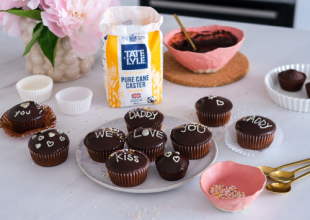
2. Beat the eggs and the Tate & Lyle Pure Cane Caster Sugar together until it triples in size and is pale and fluffy – this is the secret to creating a delightfully airy cake.
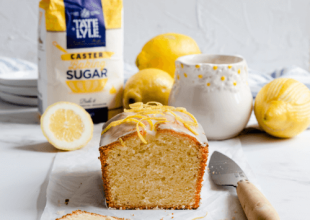
3. Feel free to introduce some flavour variations at this point, like lemon juice and zest, orange juice and zest, or even a dash of vanilla extract.
4. In a separate bowl, combine the flour and salt and carefully fold this into your egg and sugar mixture.
5. Finally, bake your sponge until it turns golden brown and leave to cool completely.
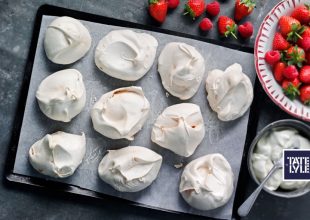
Mastering the meringue
1. To prepare the meringue, beat the egg whites together with some white vinegar until they form soft peaks. Adding something acidic like white vinegar to a meringue will improve its structure, helping to aerate it more quickly and make it more stable.
Remember, separating egg yolks and whites should be handled with care and use a clean bowl to avoid any impurities that could hinder achieving those soft peaks.
2. Next, gradually incorporate Tate & Lyle Pure Cane Caster Sugar until it transforms into glossy, stiff peaks.
Time to assemble!
1. Once your cake has cooled completely, place it on a baking tray lined with greaseproof paper. Then gently remove the ice cream from the bowl and place it on top of the cake.
2. Use a spatula to spread the meringue mixture on the ice cream and cake dome until it’s completely covered – make sure there are no gaps!
3. You have two options for the signature baked Alaska finish:
– Option 1: Put it in a hot oven for around 5 minutes until the meringue is golden brown.
– Option 2: Carefully use a blowtorch (also known as a kitchen torch) to achieve that captivating caramelisation effect.
And voilà! Your baked Alaska masterpiece is now ready to be savoured and enjoyed as a delightful testament to your culinary prowess.
Ready to make your very own baked Alaska?
Congratulations! You’ve now unlocked the secrets to creating a masterpiece that will leave your guests in awe.
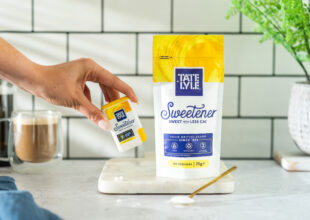
But remember, no baked Alaska is complete without the star ingredient: Tate & Lyle Sugars. Their exceptional quality and fine texture are the key to achieving the perfect pud.
Be sure to stock up before you start baking!