Prep
1hrBake
20 minsServes
10+Difficulty
Medium About
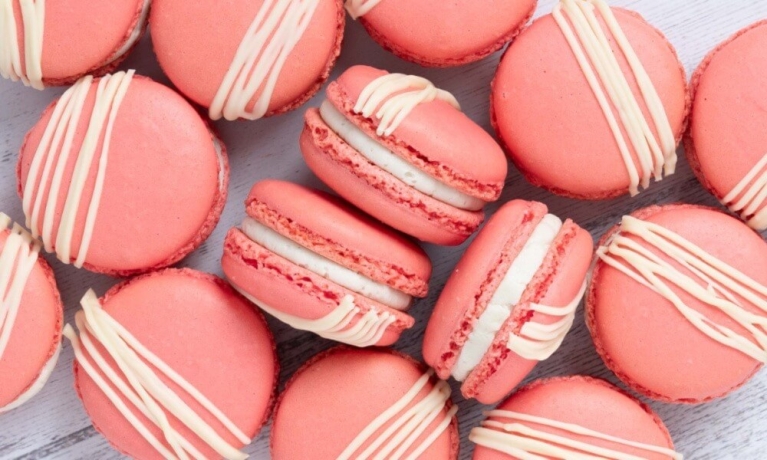
Pretty pink macarons filled with strawberry jam and a smooth vanilla buttercream. Perfectly moreish!
For the macaron shells
Draw circles about 2” across on two pieces of baking parchment. Flip it over and lay them on two baking trays. Set aside.
Using a food processor, whizz up the ground almonds and Tate & Lyle Icing Sugar until fine and no lumps remain. Sift this mixture twice into a mixing bowl, discarding any larger bits remaining in the sieve. Set the bowl aside.
In a separate bowl, or using a stand mixer with a whisk attachment, whisk the egg whites with the lemon juice until it is foamy. Turn the speed to a medium-low and add in the Tate & Lyle Caster Sugar one tablespoon at a time until all the sugar has been incorporated and the mixture is soft and pillowy. Add in the food colouring.
Turn the speed of the mixer up to medium-high and whisk until the egg white mixture reaches stiff peaks, about 4-5 minutes.
Add in half the sifted almond mixture and fold in very gently. When almost combined, add the remaining almond mixture and fold in gently, making sure to scrape the bottom of the bowl.
Continue to gently fold the macaron mixture evenly until it drips lazily from the spatula, forming a V shape as it falls. It should be smooth and still a little stiff, not too runny, like slow moving lava. Transfer to a piping bag fitted with a round nozzle.
Pipe little blobs of mixture in the four corners of the baking trays and use to secure the baking parchment to the baking trays. Pipe rounds of macaron mixture using the circles drawn on as a guide. Once you have piped one tray, bang it a couple of times on a worktop, then use a toothpick or skewer to pop and smooth out any air bubbles.
Leave the mixture on the side to form a skin so you can run your finger gently across it without disturbing the top. This can take anything from 20-60 minutes depending on the temperature and humidity of your room.
Preheat the oven to 160C/320F. Once the macaron shells have formed a skin, bake them in the preheated oven for 20 minutes until baked through. Check by gently pushing the side of a macaron shell. If it moves a little, bake it for a couple more minutes and check again. It should not move at all once baked. Remove from the oven and leave to cool on the tray.
For the filling and decoration
Make the buttercream for the filling. Beat the butter until pale and fluffy, then add in the Tate & Lyle Icing Sugar in two batches, mixing together until smooth. Add in the vanilla and enough cream to get a soft piping consistency. Beat until fluffy, then transfer to a piping bag fitted with a small round nozzle. Set aside.
Place some jam into another piping bag fitted with a small round nozzle and set aside.
Drizzle a little melted white chocolate on half the macaron shells, then release from the parchment paper.
Take an undecorated macaron shell and pipe a ring of buttercream a little in from the edge. Fill the middle of the buttercream ring with jam, then top with a decorated macaron shell. Gently press the shells together to evenly spread the filling to the edges. Chill the assembled macarons for 24 hours and enjoy!
Ingredients – 6 items
1
For Macaron Shells
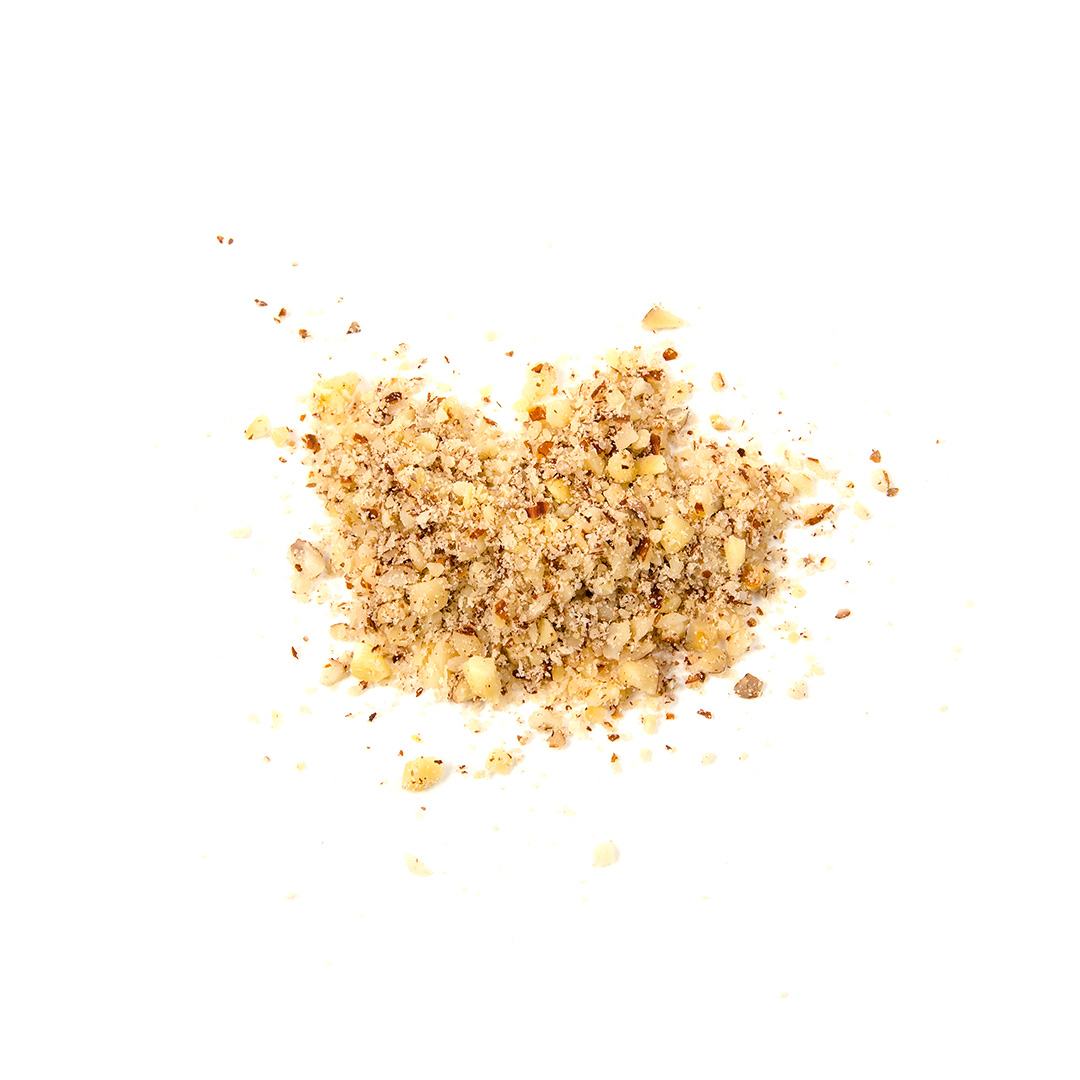
Ground almonds
Fairtrade Tate & Lyle Icing Sugar
Egg whites
Lemon juice
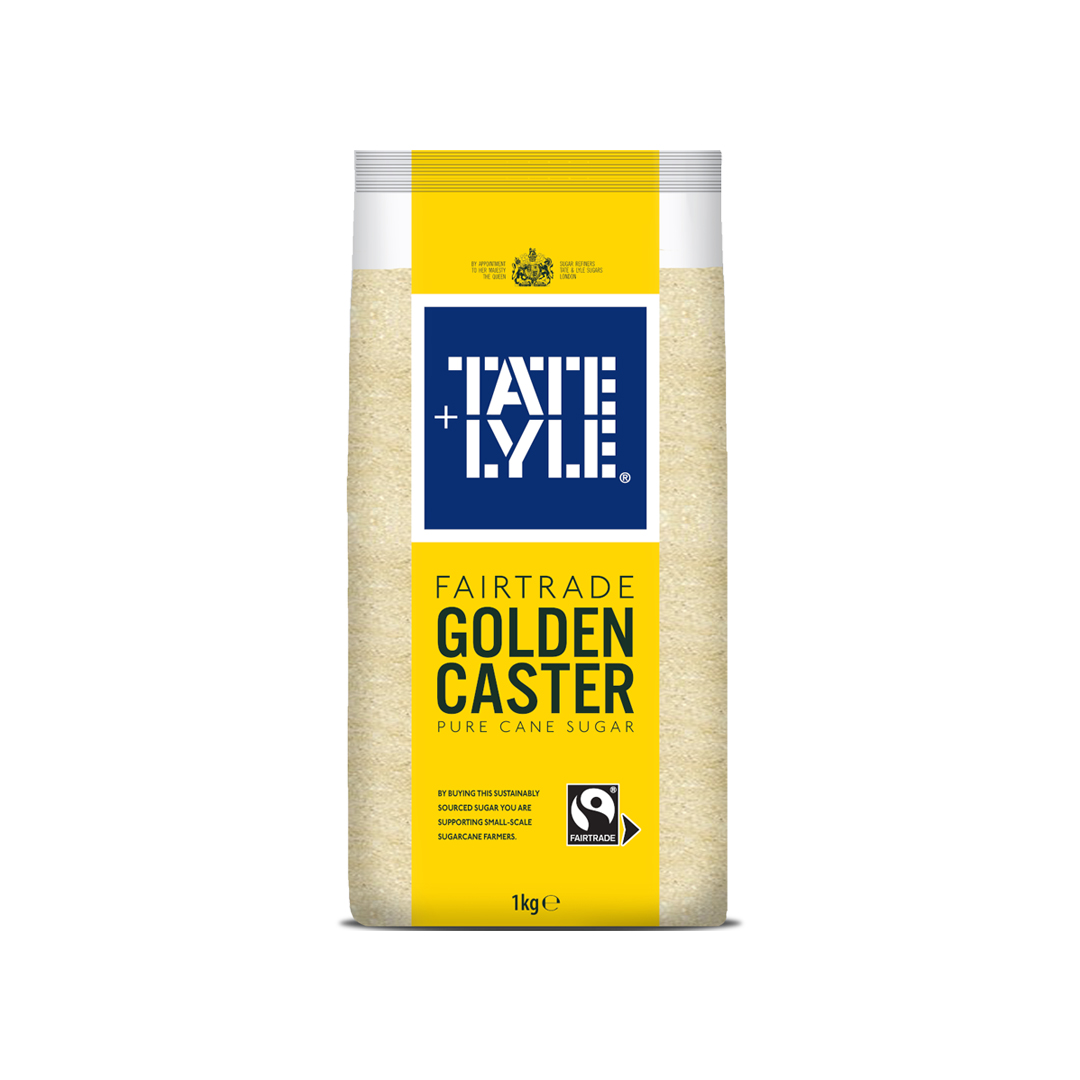
Fairtrade Tate & Lyle Golden Caster Cane Sugar
Few drops of good quality pink food colouring
For the filling and decoration
Unsalted butter
Fairtrade Tate & Lyle Icing Sugar
Vanilla extract
Double cream
Strawberry jam
Rate this recipe!
Share your thoughts or advice
Good job, now enjoy!
Don't forget to share your creation using our hashtags in the chance to get featured.
Nothing says summer like a classic Eton Mess ☀️🍓 Made with Tate & Lyle Pure Cane Caster Sugar it’s light, creamy, and bursting with fresh berries! This easy recipe is a guaranteed crowd-pleaser, the perfect balance of sweetness and crunch in every spoonful.
Ready to whip one up? Find the recipe via link in our bio.
#TateAndLyleSugars #SummerDeserts #EtonMess #EasyBakes

Started in a home kitchen. Now it’s one of the most talked-about bakeries in London.
Greedy Cow’s Korean Milk Doughnut is more than just a viral treat – it’s part of a bigger journey built on graft, great ideas, and serious baking talent.
Proud to feature Greedy Cow in the latest Trusted by the Best series.
#TrustedByTheBest
Part of Trusted by the Best, promoting chosen Tate & Lyle customer bakeries.
#advert | T&Cs in bio
Whisking up some hot takes 🔥
What’s the secret to great baking? And if your bake was a celeb… who’d it be?
Matty & Quentin from Comptoir spill all in this rapid-fire Q&A.
Part of Trusted by the Best, promoting chosen Tate & Lyle customer bakeries.
#advert | T&Cs in bio
Tate & Lyle is a British brand that has been refining sugar of EU and non-EU origin since 1859.
Ice cream isn’t just for cones! 🍦✨
Take your favourite flavours to the next level - think gooey ice cream sandwiches, creamy milkshakes, or even layered into a show-stopping ice cream cake! However you scoop it, there’s no wrong way to enjoy a little frozen fun.
Find some inspo via link in our bio.
#TateAndLyleSugars #SummerTreats #IceCreamYourWay
Put a sunshine spin on a classic with these Pimm’s Cream Scones ☀️🍓
A fun twist on the traditional bake, this recipe combines the timeless charm of scones with the fruity, refreshing flavour of a summer favourite - Pimm’s! Made with Tate & Lyle Golden Caster Sugar, they’re perfect for garden parties, afternoon teas, or just because.
Find the recipe via link in our bio.
#TateAndLyleSugars #SummerBakes #Pimms #AfternoonTeaUpgrade
Our Products
View all products