Prep
3 HRBake
2 hoursServes
10+Difficulty
Hard About
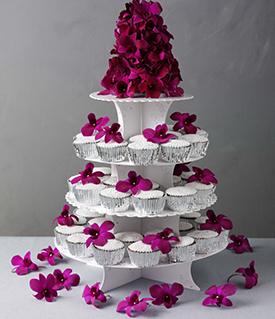
This show stopper of a cake, moist and chocolaty can be decorated however you wish with other flowers such as overblow roses, peonies or lilac, depending on your colour scheme.
For each of the cakes
Don't attempt to make all 3 cakes together, as a domestic oven and equipment will not be able to cope with the quantities. Each cake follows the same method. However, when making the largest cake, whisk the egg whites in three batches, folding each batch in as soon as it has been whisked.
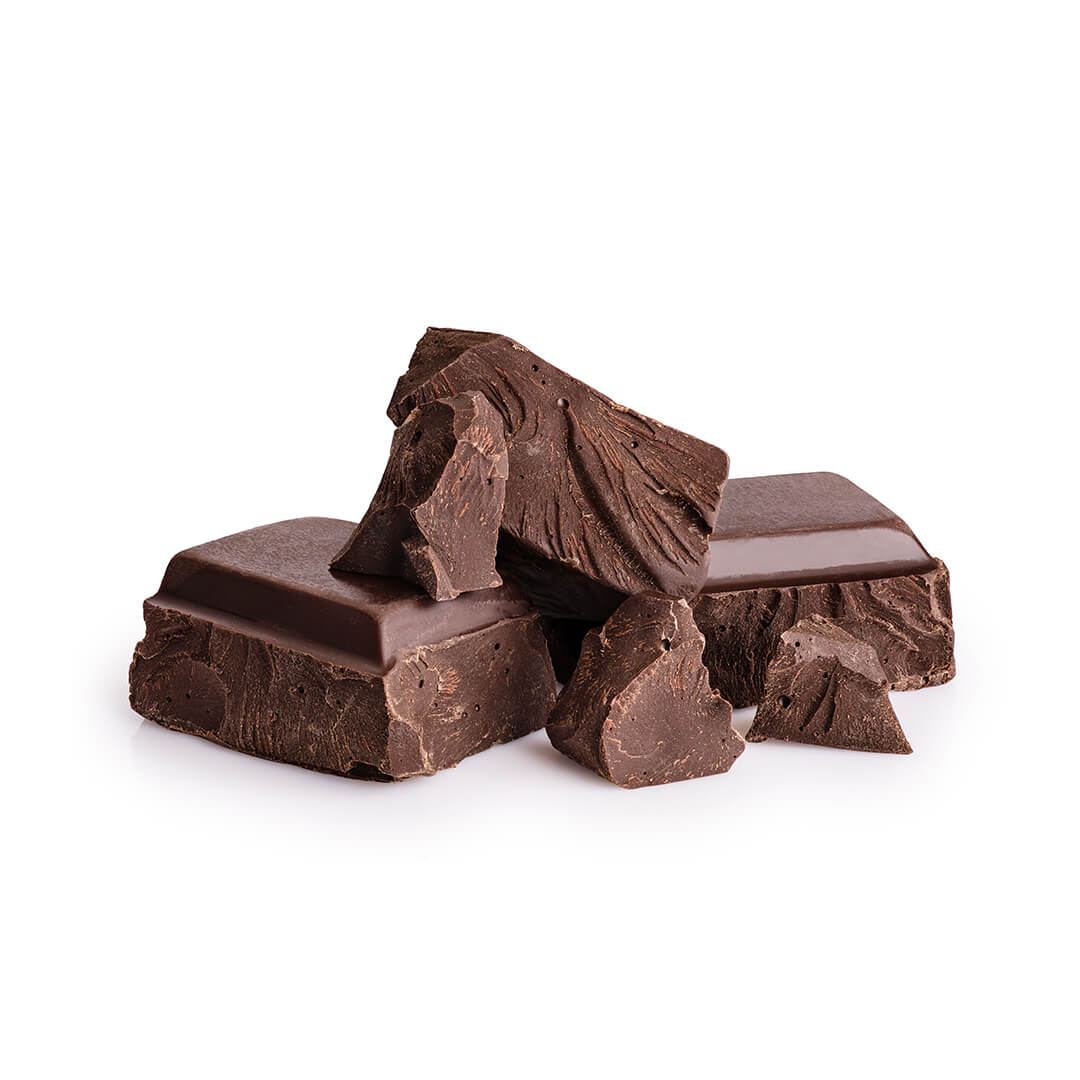
Melt the chocolate in a large heatproof bowl set over a medium-sized pan of barely simmering water, making sure the bottom of the bowl doesn't touch the water. Be careful not to overheat the chocolate or it will turn grainy and affect the finish of the cake.
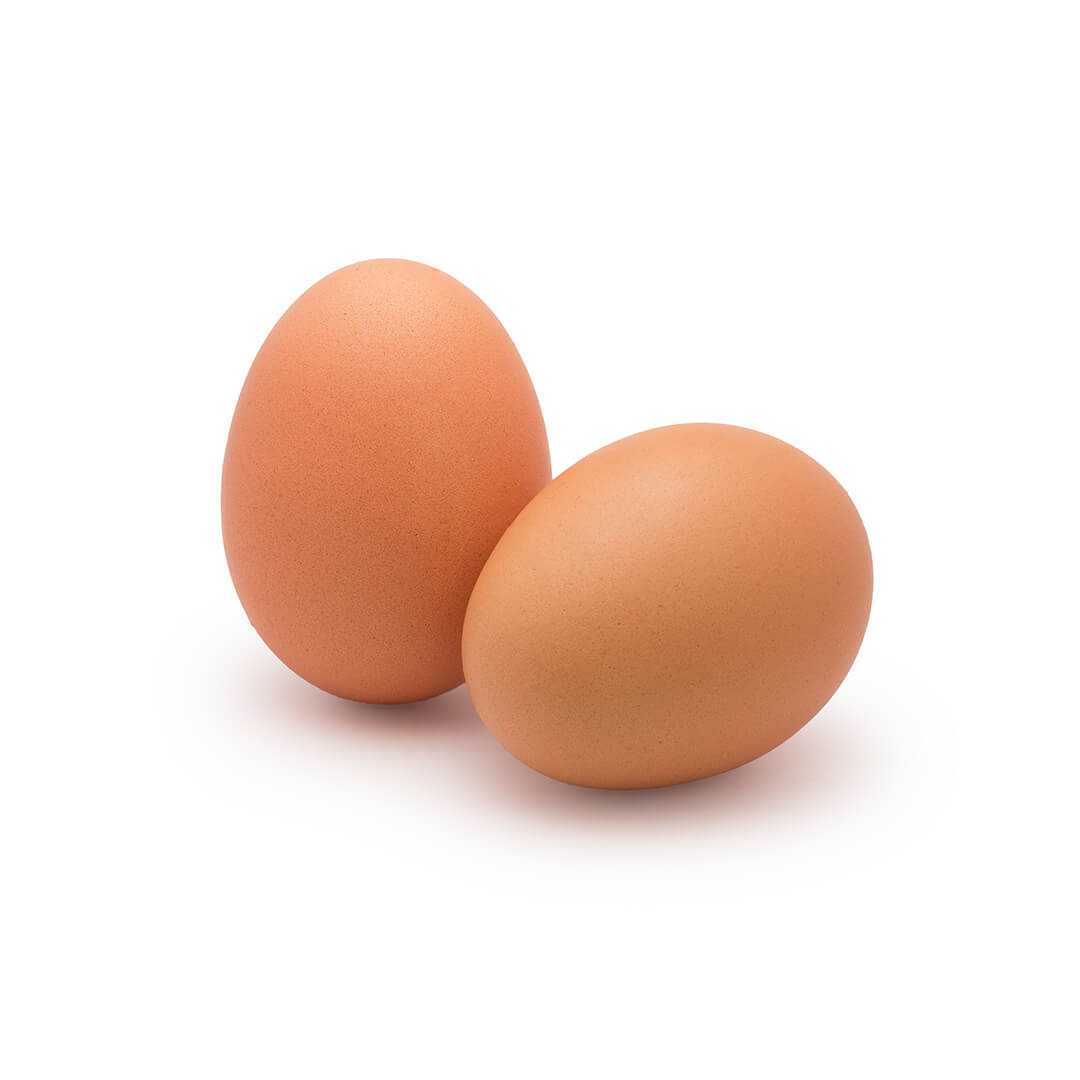
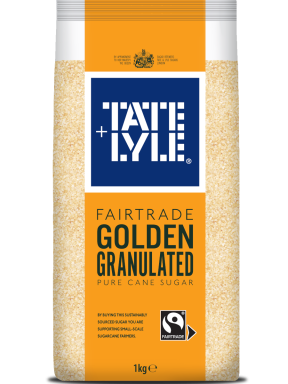
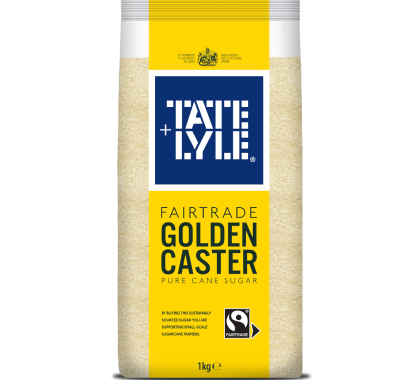
While the chocolate is melting, put the whole egg(s), the egg yolks and Tate & Lyle Fairtrade Golden Caster Sugar in another large bowl. Beat with an electric hand whisk until thick and creamy. With a large metal spoon, quickly stir the melted chocolate into the egg mixture, along with the almonds and coffee, until well mixed.
In a scrupulously clean large bowl, beat the egg whites until stiff but not dry (see note, above, regarding egg whites for the largest cake). Using a large metal spoon, fold 1 heaped tablespoon of the egg whites into the chocolate mixture to loosen it. Quickly and carefully fold in the rest, using a figure of eight motion, until just combined.
Preheat the oven to 170°C/Fan150°, 325°F, Gas 3. Place a shallow dish or baking tin on the bottom shelf of the oven, then fill it with near-boiling water (it isn't safe to fill it before placing it on the shelf). The shelf for baking the cakes should be placed a third up from the bottom of the oven, just above the water.
Carefully pour the mixture into the prepared cake tin and lightly smooth over the surface, then place on a baking tray. Cover each of the 2 smaller cakes with a double thickness of parchment paper and make a hole in the centre of each the size of a 50p piece. Cover the 30cm (12”)cake with a double thickness of extra-wide foil with a hole made in it, as above.
Bake the 15cm (6”) cake for 55-65 minutes; the 23cm (9”) cake will take 75-85 minutes to bake and the 30cm (12”) cake will take about 2¾-3 hours.
The cake is ready when well-risen, with a nicely set crust, and when a fine metal skewer inserted into the middle comes out clean. Remove from the oven, take off the baking paper or foil, cover the cake with a damp, clean tea towel and leave to cool in the tin for 1 hour. Then turn it out on to a wire rack to cool completely, and remove the parchment paper.
For the icing
When all the cakes are made and have cooled completely, make the icing. Put the chocolate in a large heatproof bowl set over a medium-sized pan of hot water over a low heat for 15-20 minutes, or until melted, stirring regularly, making sure the bottom of the bowl doesn't touch the water. Be careful not to overheat the chocolate, nor get any water or steam into it or it will turn grainy and affect the finish of the cake.
Add the butter, bit by bit, stirring gently until melted. Remove from the heat and set aside to cool until the icing mixture has started to set to the consistency of double cream.
Meanwhile, if the tops of the cakes are uneven, trim with a sharp, long-bladed knife, then upturn on to wire racks so that there is a flat surface for icing. Brush away any loose crumbs and place flat plates or trays underneath each rack to catch any drips of icing.
Melt the apricot jam with the water in a small pan over a low heat, strain to remove any lumps and then, using a pastry brush, brush over the surface of the cakes to prevent any loose crumbs from spoiling the icing. Heat the jam again if it starts to thicken up too much.
Starting with the largest cake, pour over a thin layer of icing and then, using a long-bladed palette knife, quickly and evenly smooth it over the top and sides. Repeat with the remaining cakes and chill until set – about 30 minutes. If your fridge is not big enough, you will need to set them aside in a cool place instead and allow longer for the icing to set.
Put the remaining icing back over the pan of barely simmering water to melt again, then remove and allow to thicken, and, as before, give the cakes a second coat. Chill until the icing has set, then, if you have any spare icing, repeat the process for a third and final time and chill for about 1 hour. Any spare icing on the trays can be saved and used at the last minute to disguise any marks – just melt it, then pass it through a sieve into a small lidded container to remove any crumbs, and refrigerate.
When the icing has set, remove the cakes from the fridge and, using a small sharp knife dipped in very hot water, carefully cut them away from the cooling racks. Using the cake lifter carefully transfer each cake to a tray lined with baking paper and chill, uncovered, overnight or leave in a cool place.
The following day when you are ready to decorate the cake, place the largest cake on the cake board or stand and stack the other two tiers on top, in order of size, using the cake lifter and making sure they are evenly positioned. You can decorate the cake up to 6 hours ahead if you have adequate refrigeration or a very cool storage place.
TOP TIP
Have an idea of where you want to place the flowers before decorating the cake as it can be quite difficult to move them around afterwards without any tell-tale signs
To decorate the cake
Decide on which part of the cake the icing looks best and make this the front of the cake. Then, using the thickest ribbon wrap it round the base of the cake, securing it at the back with the pins, then lay the thinner ribbon over it and, again, secure with pins. When doing this, make a note of exactly where the pins are for removal before serving. Try to only position the ribbons once as it will become very difficult and messy if you have to make several attempts at getting it right, since the chocolate may mark the ribbons.
Starting with the top tier, decorate the top of the cake with a few of the orchids. Next, work your way down to the lower tiers, arranging the flowers so that they point outwards. You may need to carefully push the stalks into the icing to secure them. The weather will determine how long in advance you can decorate the cake with the flowers, but if it’s cool they will probably be fine for 2-3 hours ahead.
To serve the cake
Divide each tier into quarters, cut into 2.5cm (1”) wide slices and then cut each slice into 4cm (1½”) fingers. Arrange on plates and serve.
Make-ahead
This cake freezes well if each tier is kept in an airtight container, un-iced and wrapped in a double layer of foil, for up to 8 weeks. Defrost overnight at room temperature. Alternatively, make the cakes up to 1 week ahead, wrap in a double layer of foil and keep in airtight containers in a cool place. Ice them up to 5 days ahead and store in individual plastic boxes (put the cake on the lid and click the box into place over the top) in the fridge or a cool place. If stored in the fridge, remove about 4 hours before decorating so that any condensation on the cakes will disappear.
Cooking times
2¾-3 hours for the largest cake, 75-85 minutes for the medium cake and 55-65 minutes for the smallest cake.
Ingredients – 6 items
1
For the 15cm cake
Dark chocolate
Broken into squares
Large eggs
Room temperature
Large eggs
Separated, at room temperature
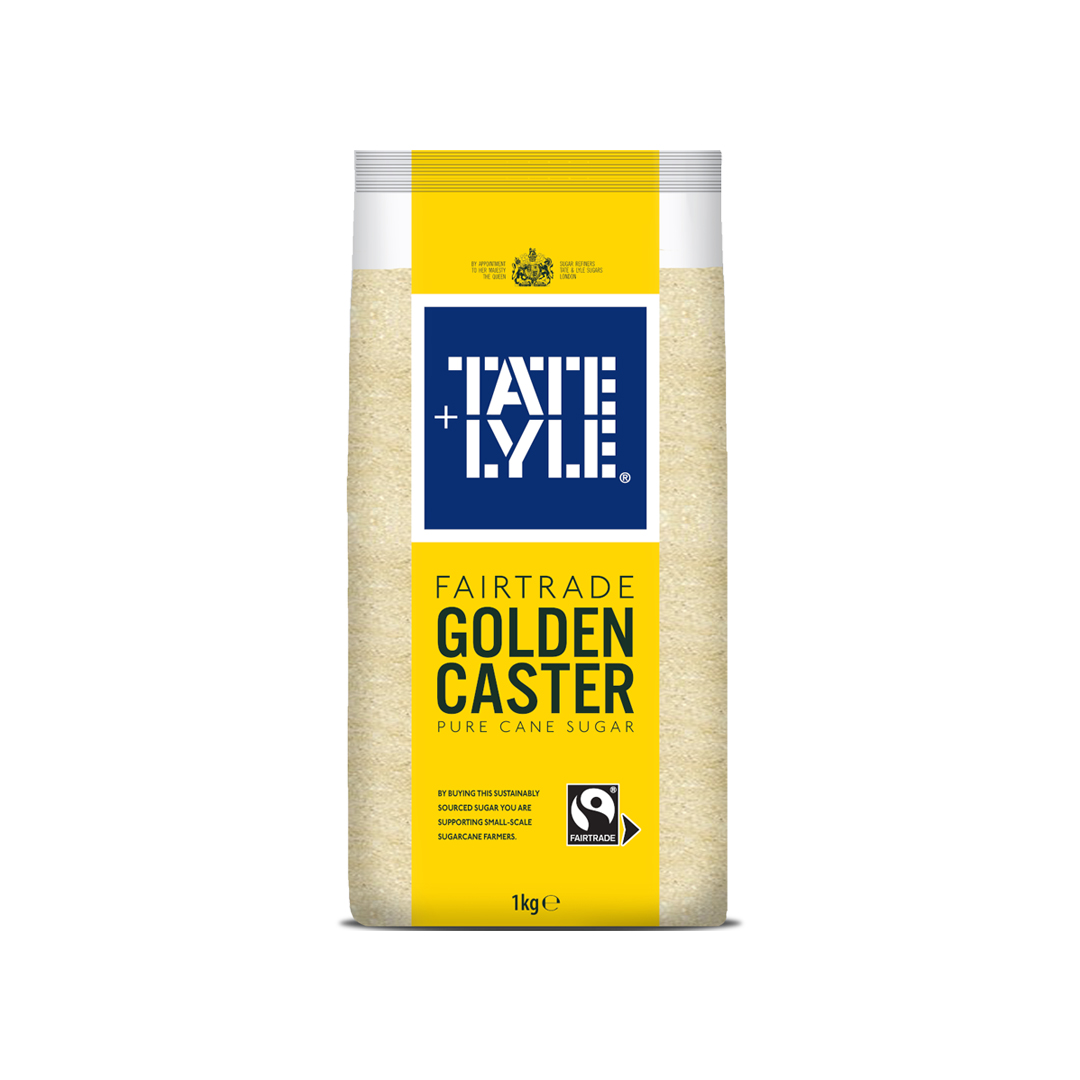
Fairtrade Tate & Lyle Golden Caster Cane Sugar

Almonds
Ground
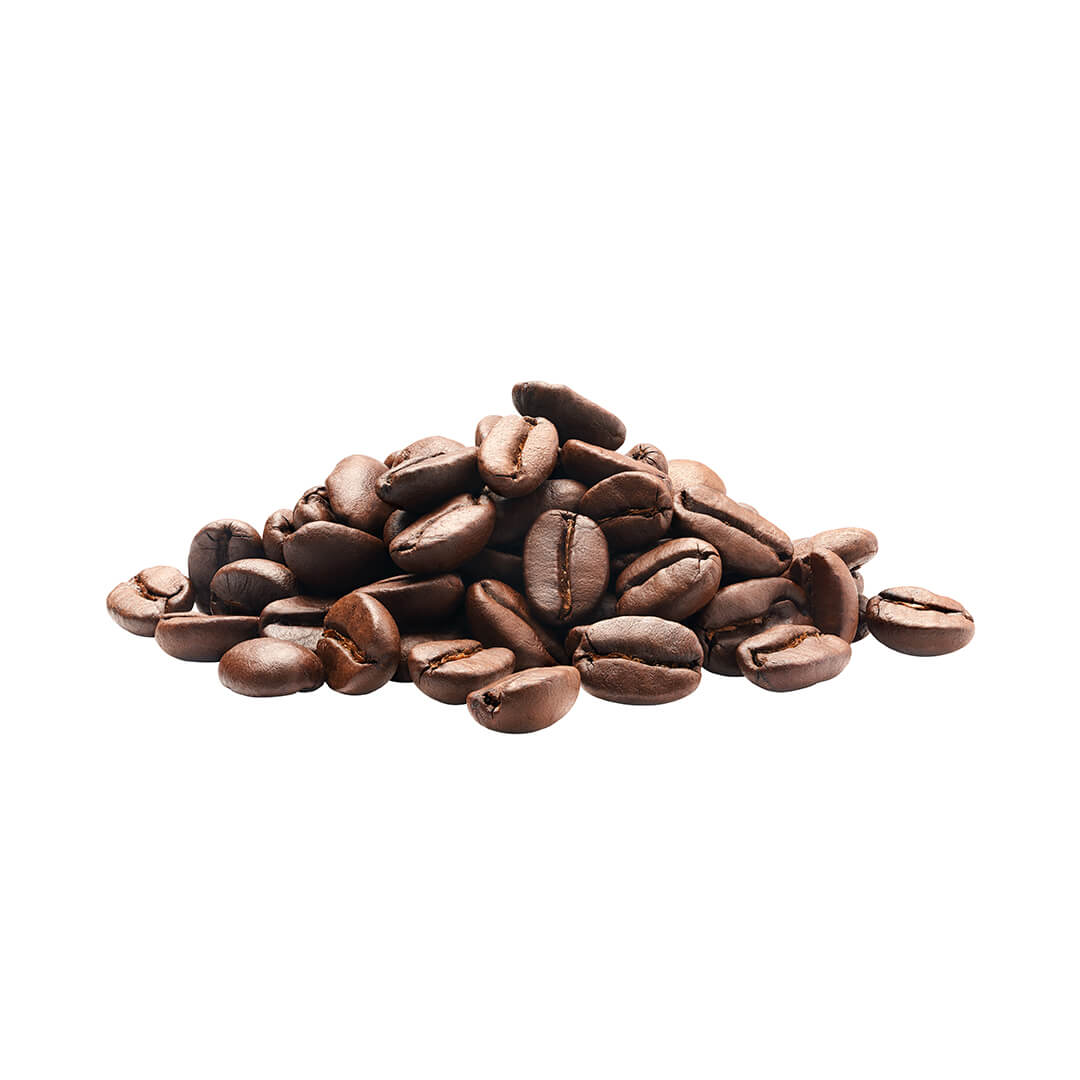
Coffee
For the 23cm cake
Dark chocolate
Broken into squares
Large eggs
Room temperature
Large eggs
Separated, at room temperature
Fairtrade Tate & Lyle Golden Caster Sugar
Almonds
Ground
Coffee
For the 30 cm cake
Dark chocolate
Large eggs
At room temperature
Large eggs
Separated, at room temperature
Fairtrade Tate & Lyle Golden Caster Sugar
Almonds
Ground
Coffee
Finely ground
For the icing
Dark chocolate
Broken into squares
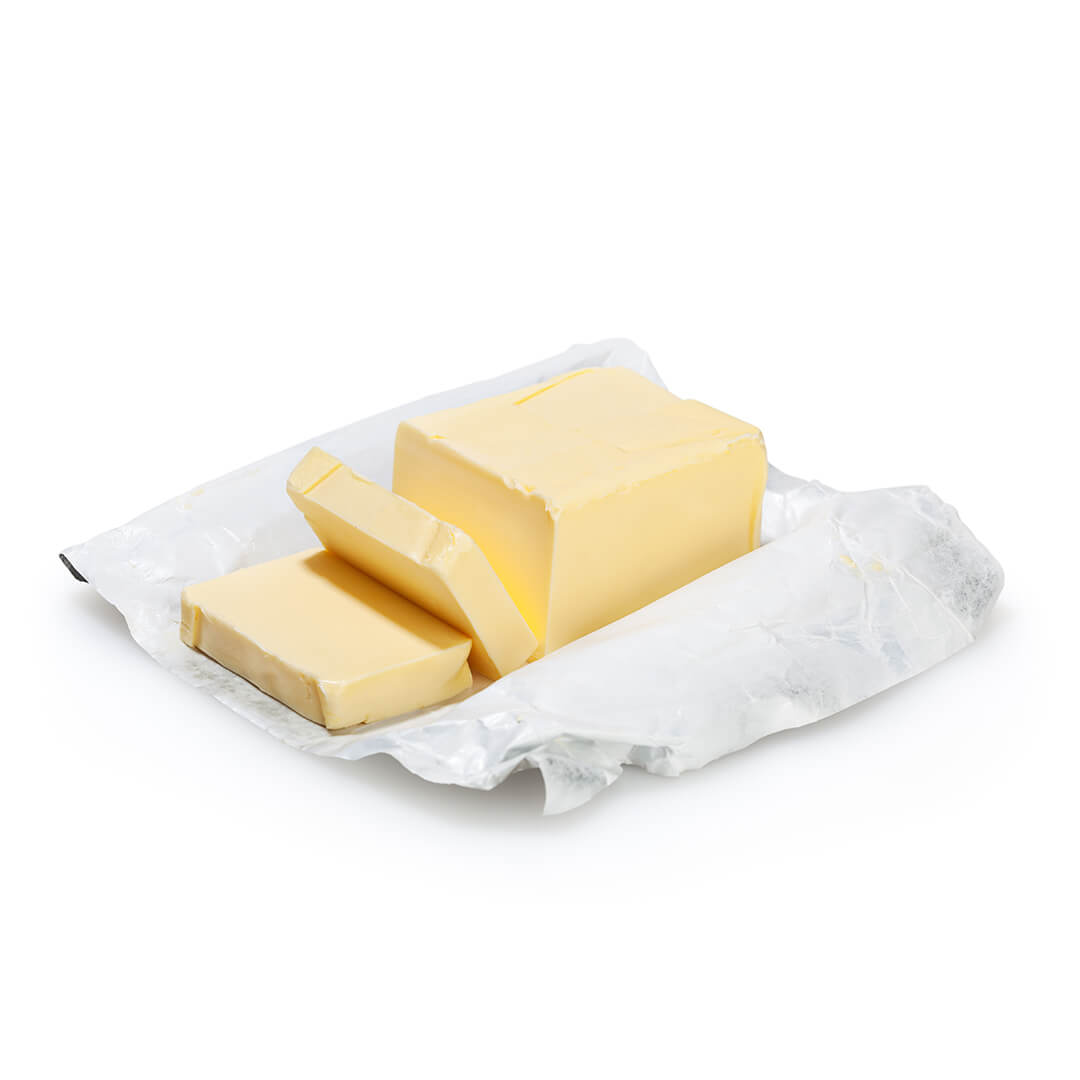
Butter
Unsalted, cubed
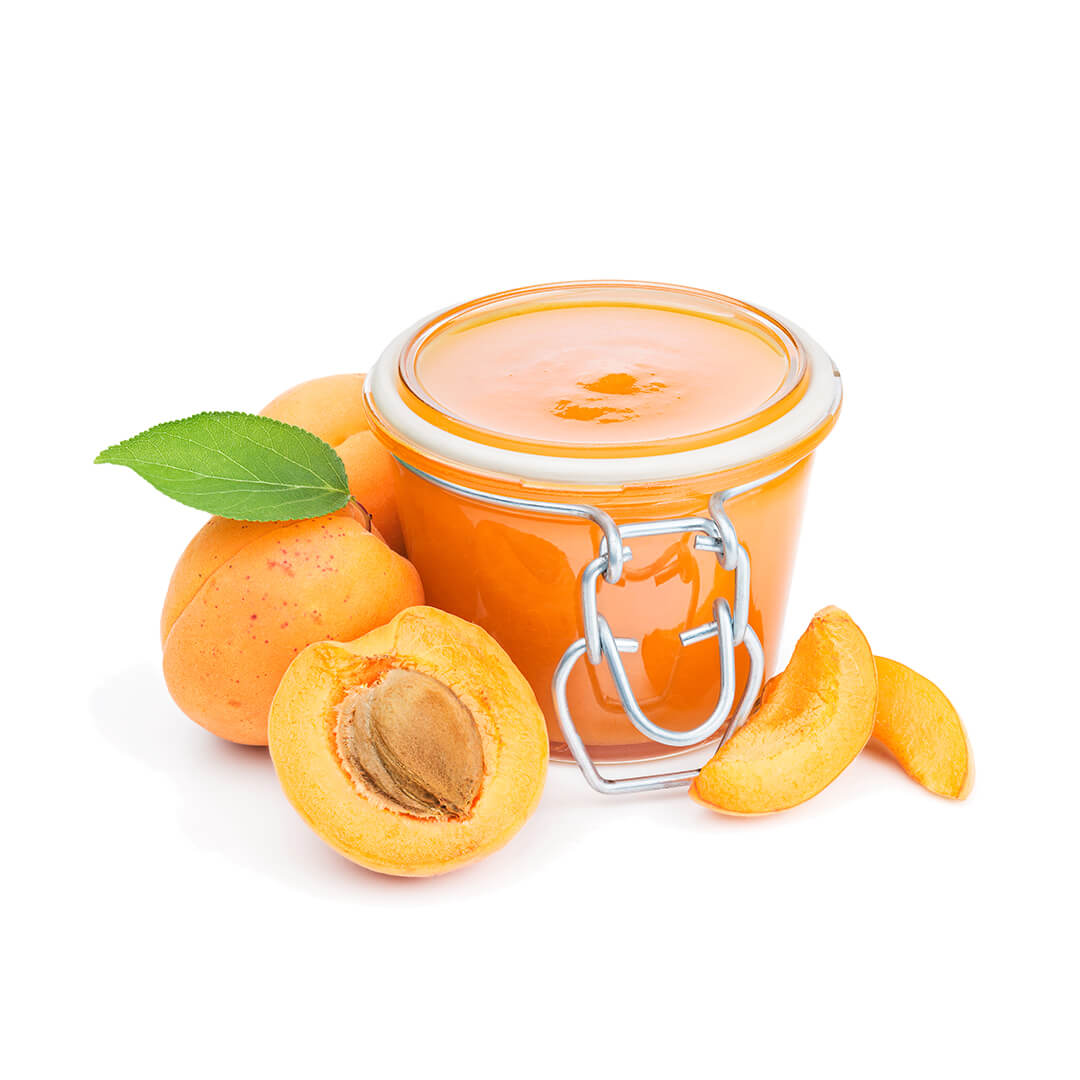
Apricot jam

Water
For the decoration
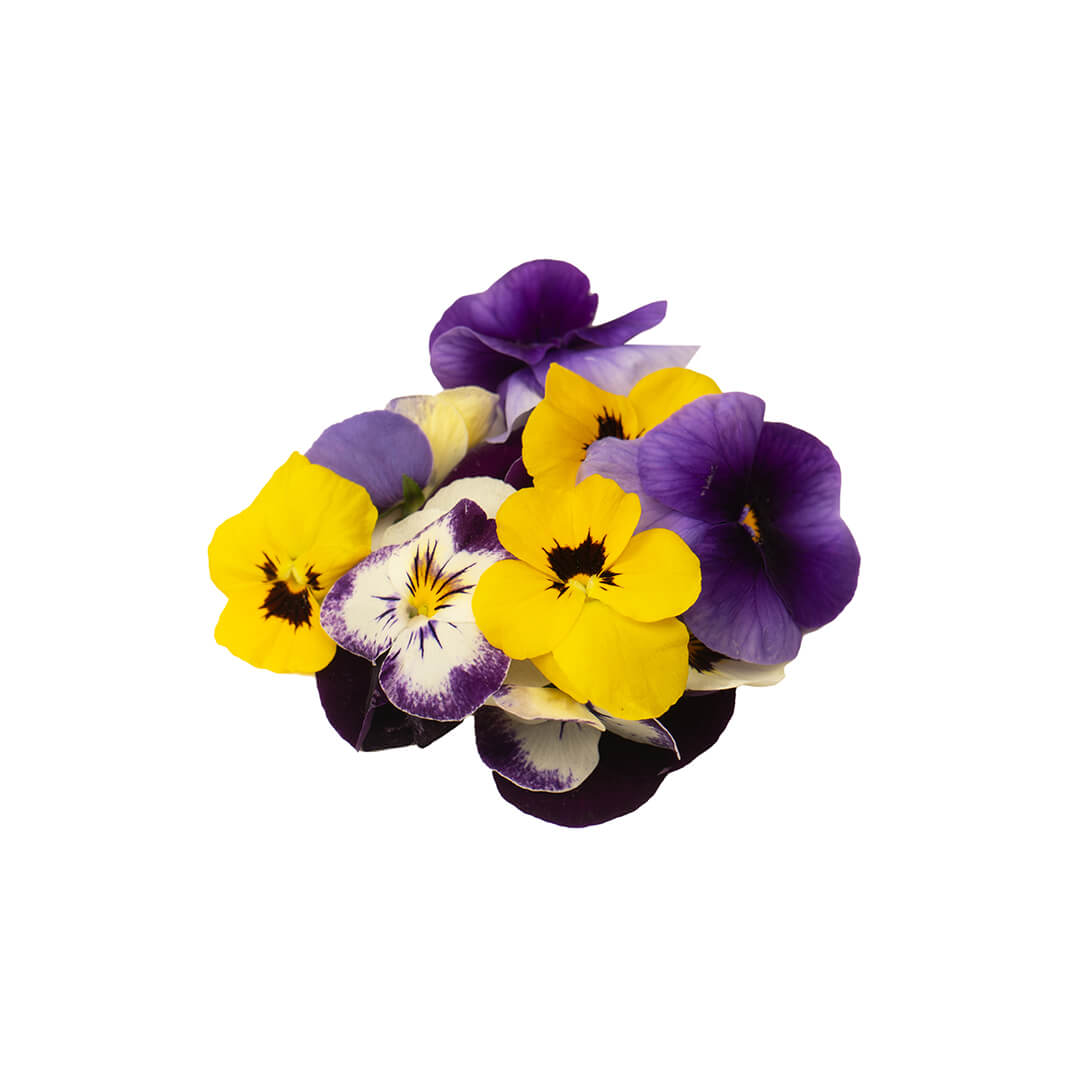
Decorative sugar flowers

Purple and gold ribbon
Rate this recipe!
Share your thoughts or advice
Good job, now enjoy!
Don't forget to share your creation using our hashtags in the chance to get featured.
Ice cream isn’t just for cones! 🍦✨
Take your favourite flavours to the next level - think gooey ice cream sandwiches, creamy milkshakes, or even layered into a show-stopping ice cream cake! However you scoop it, there’s no wrong way to enjoy a little frozen fun.
Find some inspo via link in our bio.
#TateAndLyleSugars #SummerTreats #IceCreamYourWay

Put a sunshine spin on a classic with these Pimm’s Cream Scones ☀️🍓
A fun twist on the traditional bake, this recipe combines the timeless charm of scones with the fruity, refreshing flavour of a summer favourite - Pimm’s! Made with Tate & Lyle Golden Caster Sugar, they’re perfect for garden parties, afternoon teas, or just because.
Find the recipe via link in our bio.
#TateAndLyleSugars #SummerBakes #Pimms #AfternoonTeaUpgrade
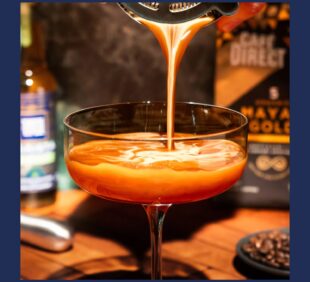
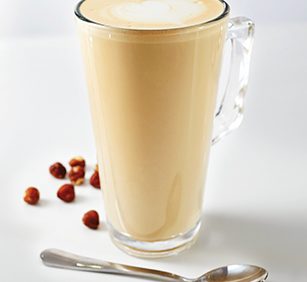
Cool down in style with a homemade Vanilla Matcha Frappe. Made with Tate & Lyle Vanilla Flavoured Syrup for that perfect balance of creamy sweetness, and topped with a swirl of indulgent squirty cream - it’s the ultimate café-style treat you can make at home.
Just blend, pour, and sip!💚✨
Find a variety of recipes via link in our bio.
#TateAndLyleSugars #Matcha #FrappeFix #MatchaMoments
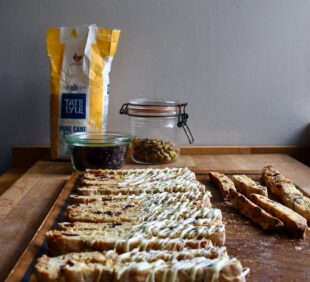
Trusted by the Best – Comptoir Bakery 🥐
We’re kicking things off at the incredible @comptoir_bakery - a French-style bakery in the heart of London - where @mattyedgell steps into the kitchen to meet the team, get hands-on with their signature bakes, and discover why they trust Tate & Lyle Sugars to bring the magic to every bake.
From buttery, flaky croissant dough to their iconic pistachio brioche Brionut, everything they create is a labour of love - and sugar is at the heart of it. ✨
This is just the start of our journey to meet the brilliant bakers who put their trust in Tate & Lyle Sugars.
📍 First stop: Comptoir Bakery. Let’s go.
#tateandlyle #trustedbythebest
Want to bake something special for Dad this Father’s Day? 🧁
These easy triple chocolate cupcakes are rich, chocolatey, and packed with flavour - made even better with the warm, caramel notes of Tate & Lyle Golden Caster Sugar.
A simple, homemade treat that’s guaranteed to make him smile!
Find the recipe via link in our bio.🍫
#TateAndLyleSugars #WeLoveBaking #FathersDay #Cupcakes #Baking
Our Products
View all products
