Prep
1 HRBake
1 hour 35 minsServes
12Difficulty
Medium About
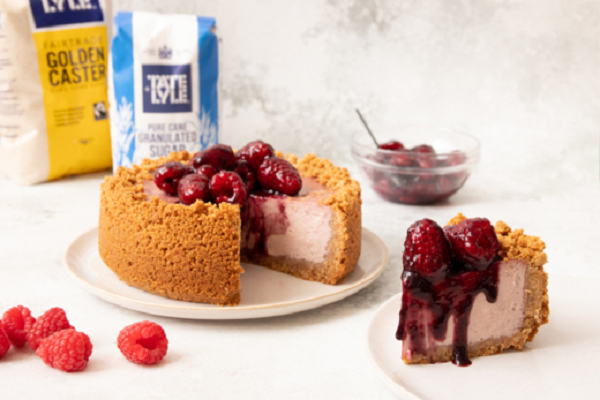
We believe a biscuit base shouldn't be relegated to the bottom, so our raspberry cheesecake is a little bit more edgy... Literally! With a sweet raspberry coulis and biscuit pie crust, this is a recipe to take your cheesecakes up a notch.
FIRST, PREPARE THE CHEESECAKE CRUST
Crush up digestive biccies until you get fine crumbs. If you're feeling tense, it's nothing a plastic bag and rolling pin won't solve - but we won't tell anyone if you'd rather use a food processor!
Add the melted butter and mix well until the mixture resembles wet sand. (In looks. not taste!)
Transfer into a lined 8 inch (20cm) springform pan and, using the flat bottom of a glass or measuring cup, compress them into an even layer with an approximately 1 ½ inch (4cm) rim around the edge.
Bake at 350ºF (180ºC) for about 10 minutes, then allow to cool until warm.
NEXT UP, PREPARE THE RASPBERRY CHEESECAKE FILLING
To a large bowl, add the room temperature cream cheese and use a balloon whisk to mix it until smooth. That's MIX, not whisk - you want to aerate the cream cheese, so stir lightly and stop mixing when smooth.
Then, add the room temperature yoghurt and mix until combined.
Mix together caster sugar and cornstarch, and add them to the cream cheese mixture.
Mix well until combined and smooth.
Add the vanilla bean paste and mix well.
Add the room temperature eggs, one at a time, mixing well after each addition until combined and smooth.
Add in a raspberry reduction - AKA the highly concentrated juice from your raspberries, cooked down until thick and syrupy, but not quite jam-like.
Mix well until combined.
The final cheesecake filling will be velvety-smooth, super creamy and of a gorgeous bright pink colour.
ASSEMBLING AND BAKING THE RASPBERRY CHEESECAKE
Transfer the cheesecake filling into the slightly cooled cheesecake base.
Use a small offset spatula to smooth out the top, and then: bake!
Once baked and cooled to room temperature, you need to chill the cheesecake in the fridge for at least 4 hours or preferably overnight.
For a raspberry coulis top, take place half your raspberries into a pan with sugar, cooking and stirring until a delicious sweet sauce.
Take off the heat and leave to cool, then mix in the rest of your fresh raspberries. Then add the mixture to the top of the cheesecake and serve!
Ingredients – 2 items
1
For cheesecake crust
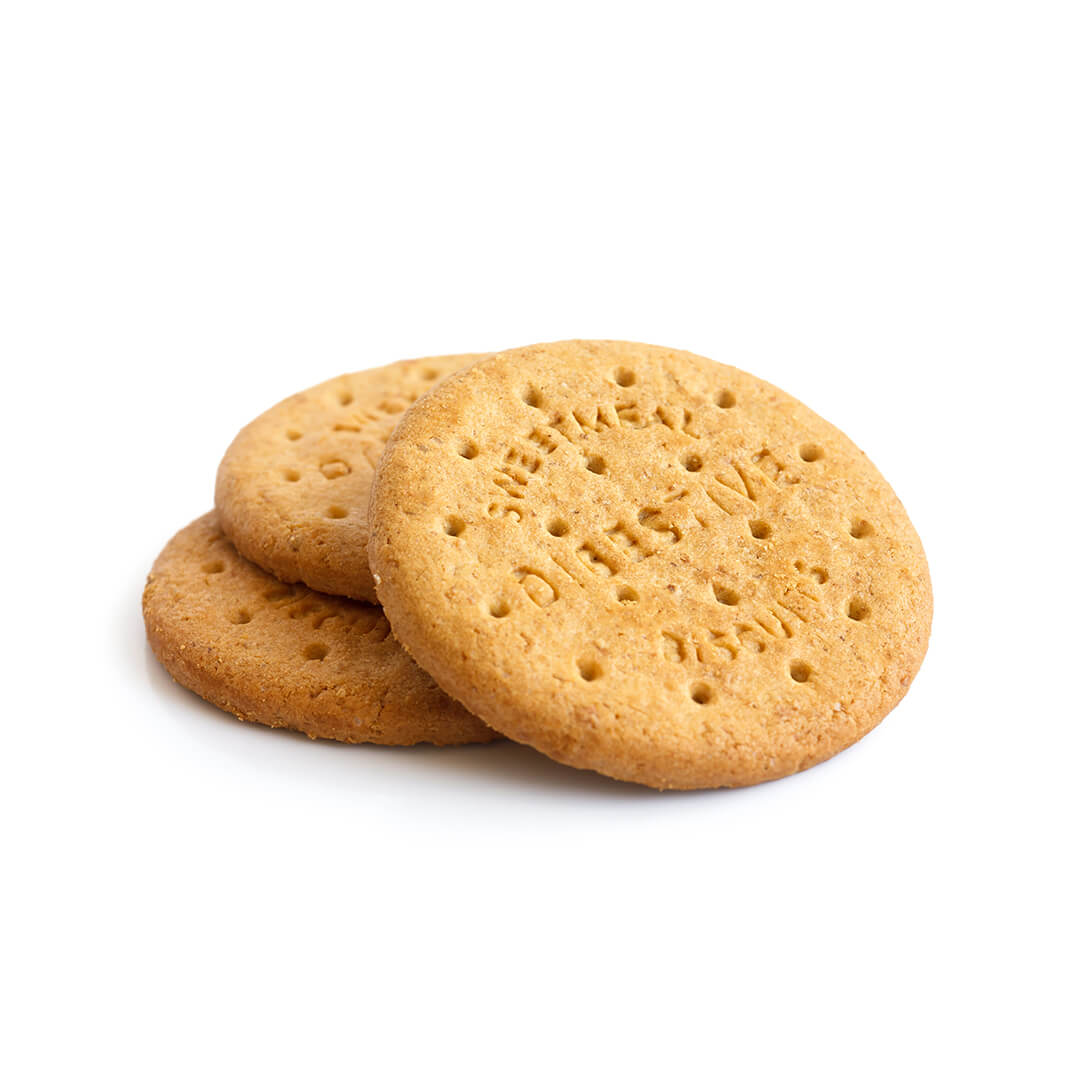
Digestive biscuits
Finely crushed
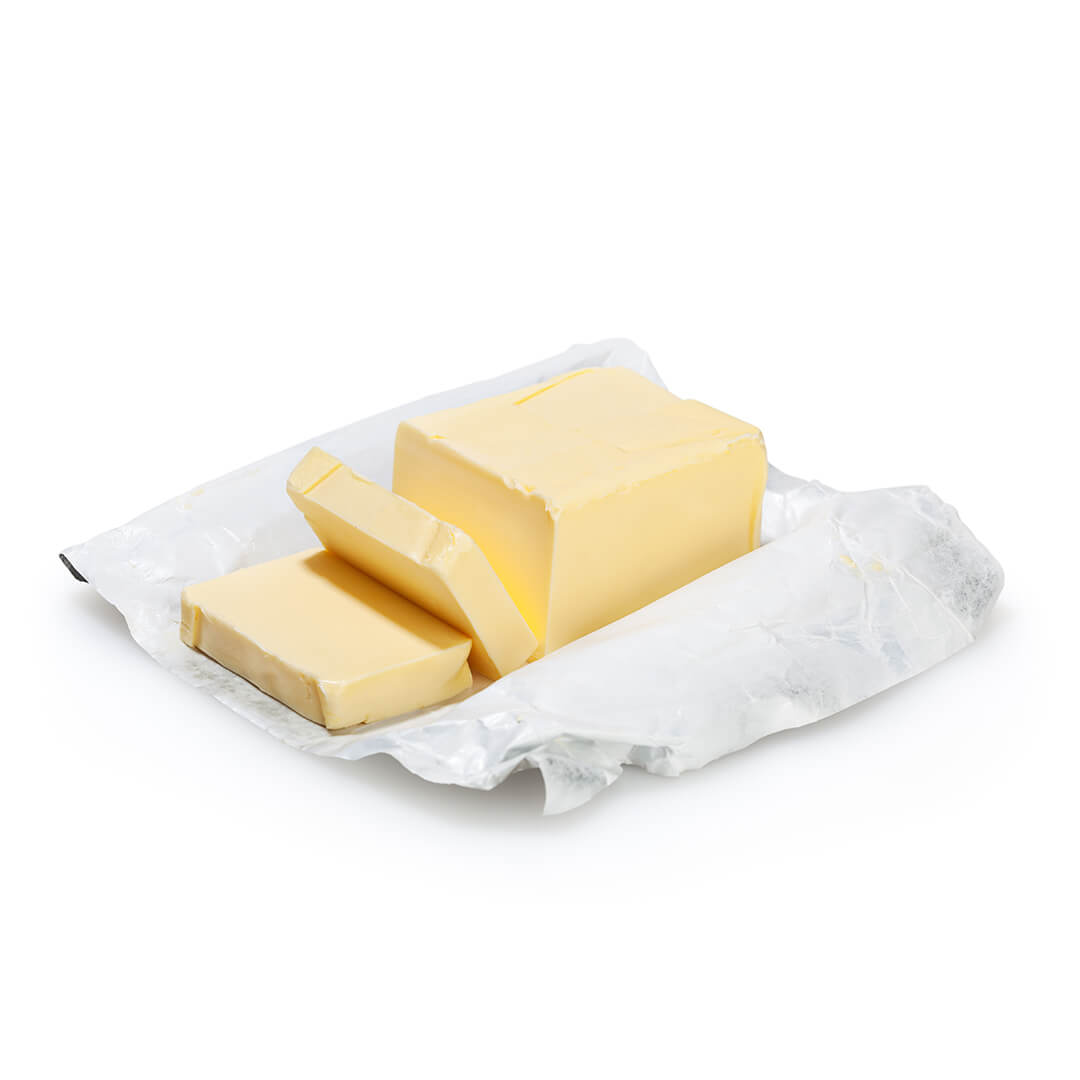
Unsalted butter
For raspberry cheesecake filling
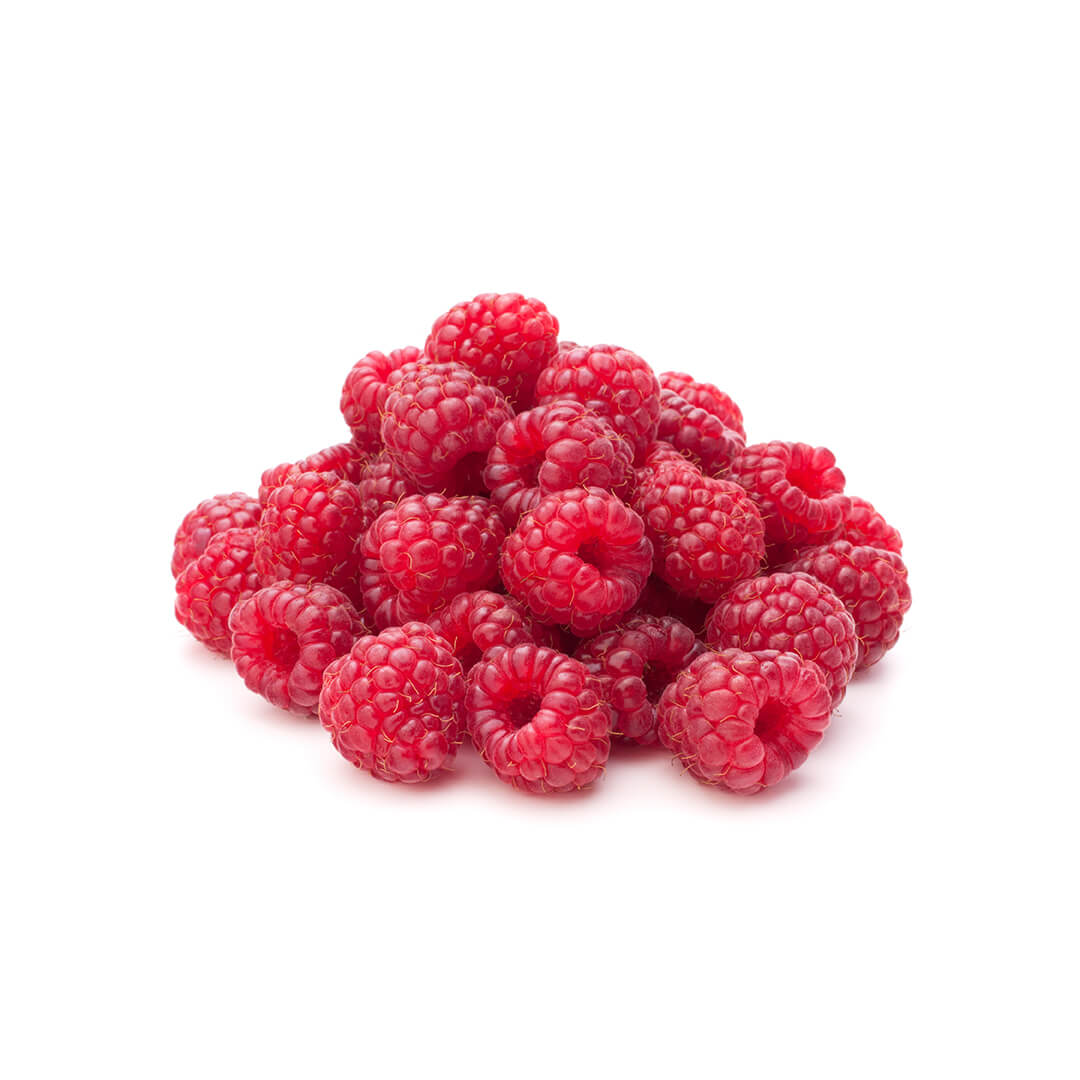
Raspberries
Fresh or frozen

Full fat cream cheese
Room temperature

Greek-style natural yoghurt
Full fat, room temperature
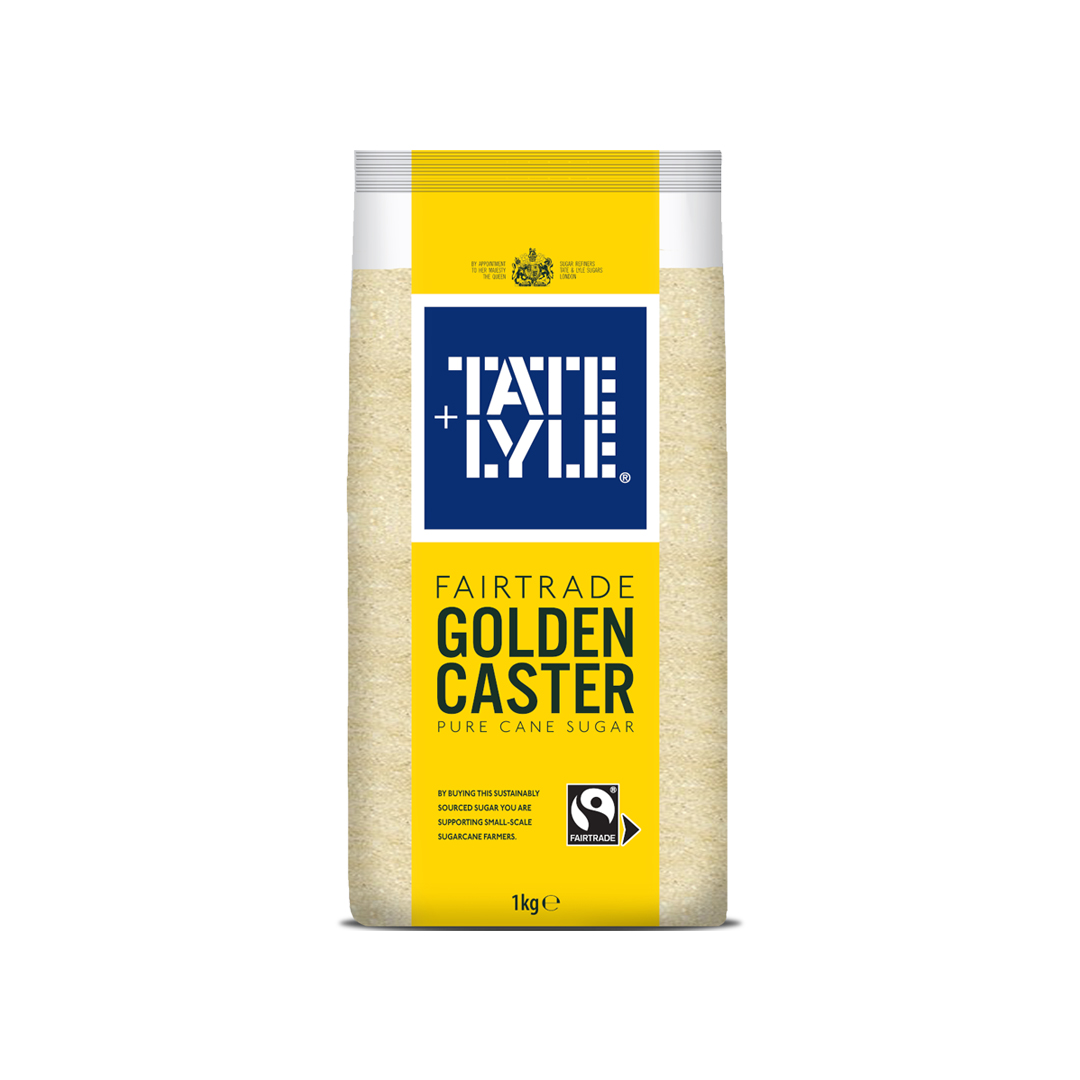
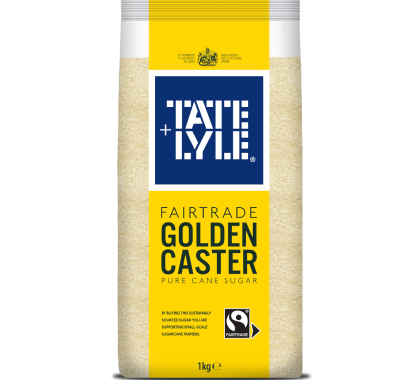
Fairtrade Tate & Lyle Golden Caster Sugar
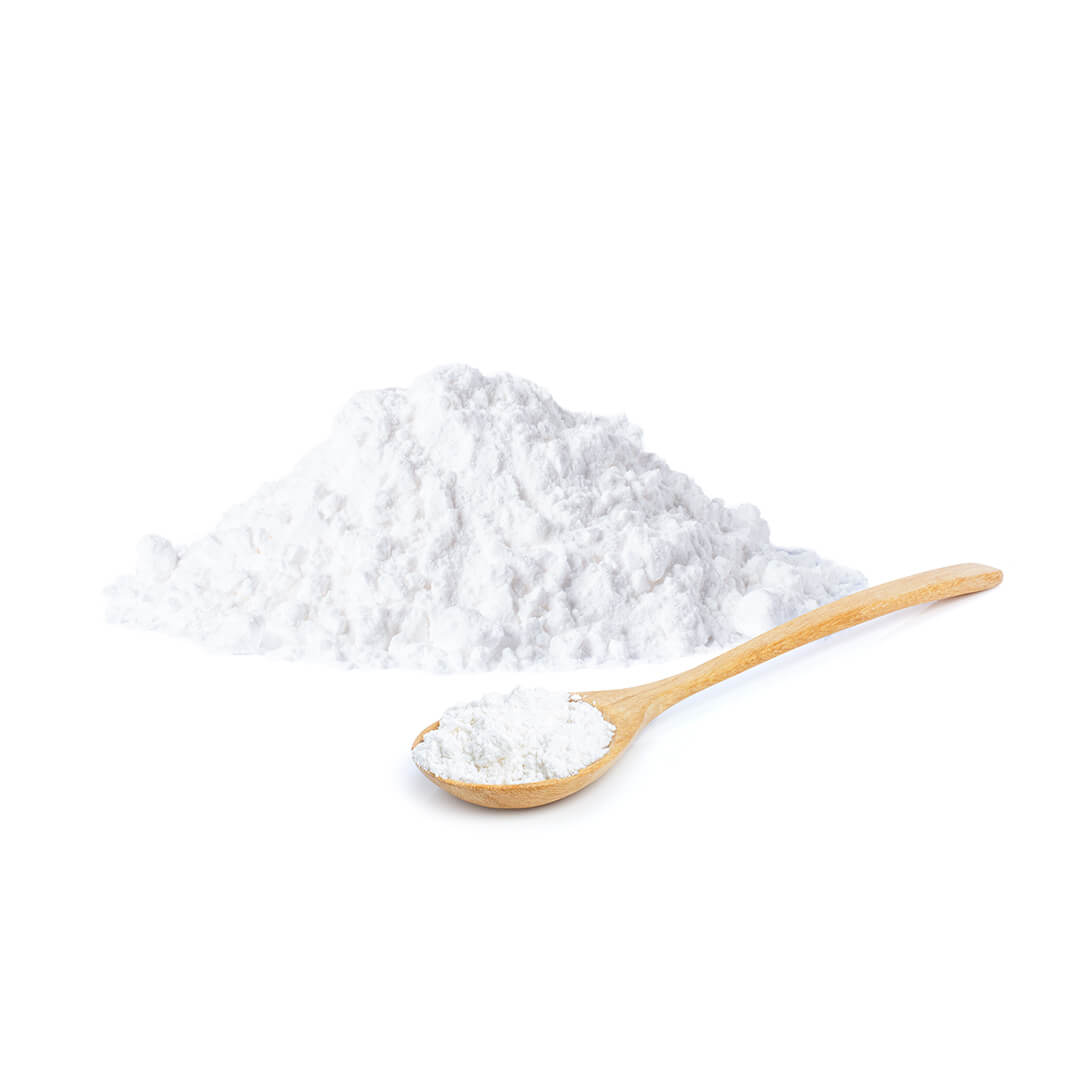
Cornflour
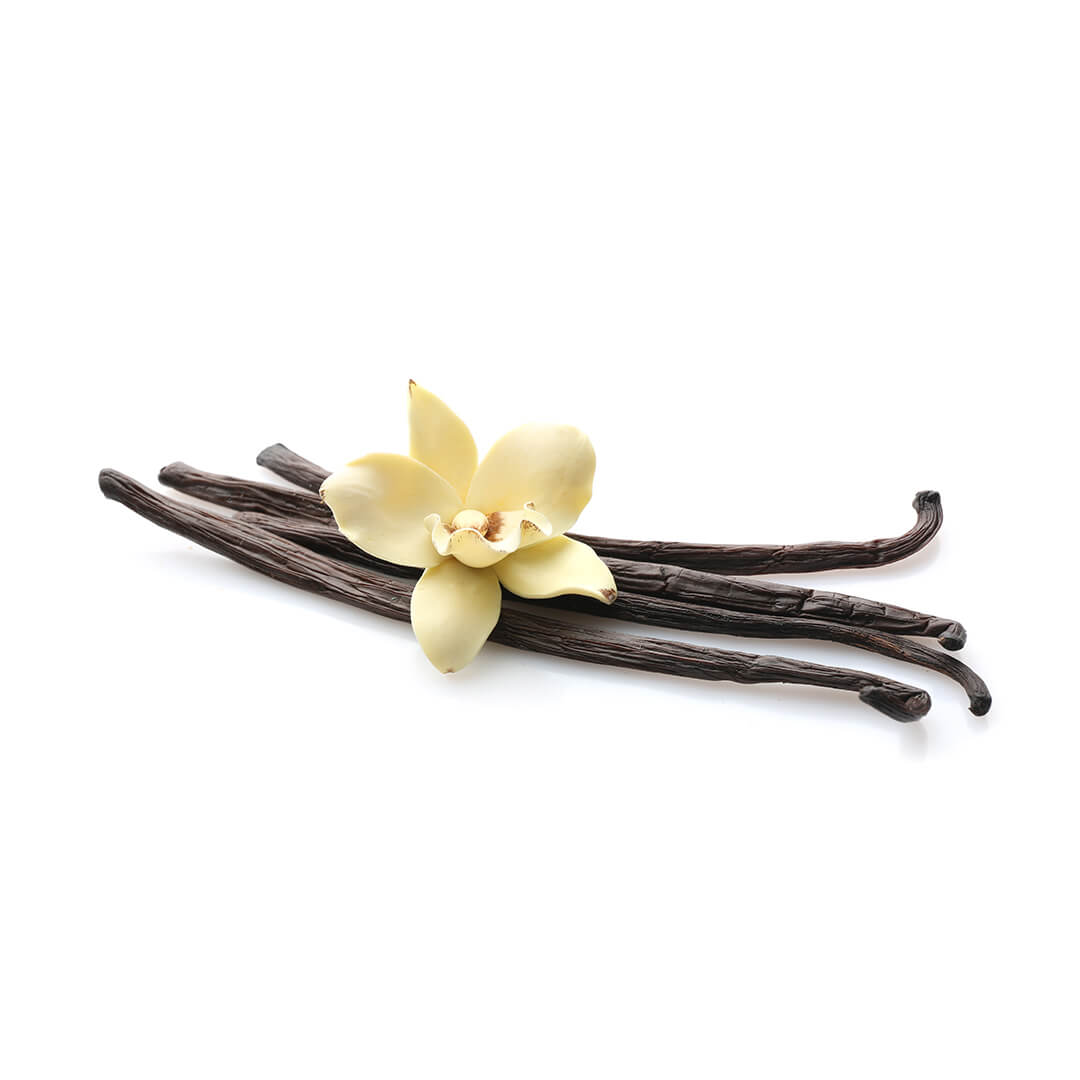
Vanilla bean paste
Or 1 tsp vanilla extract
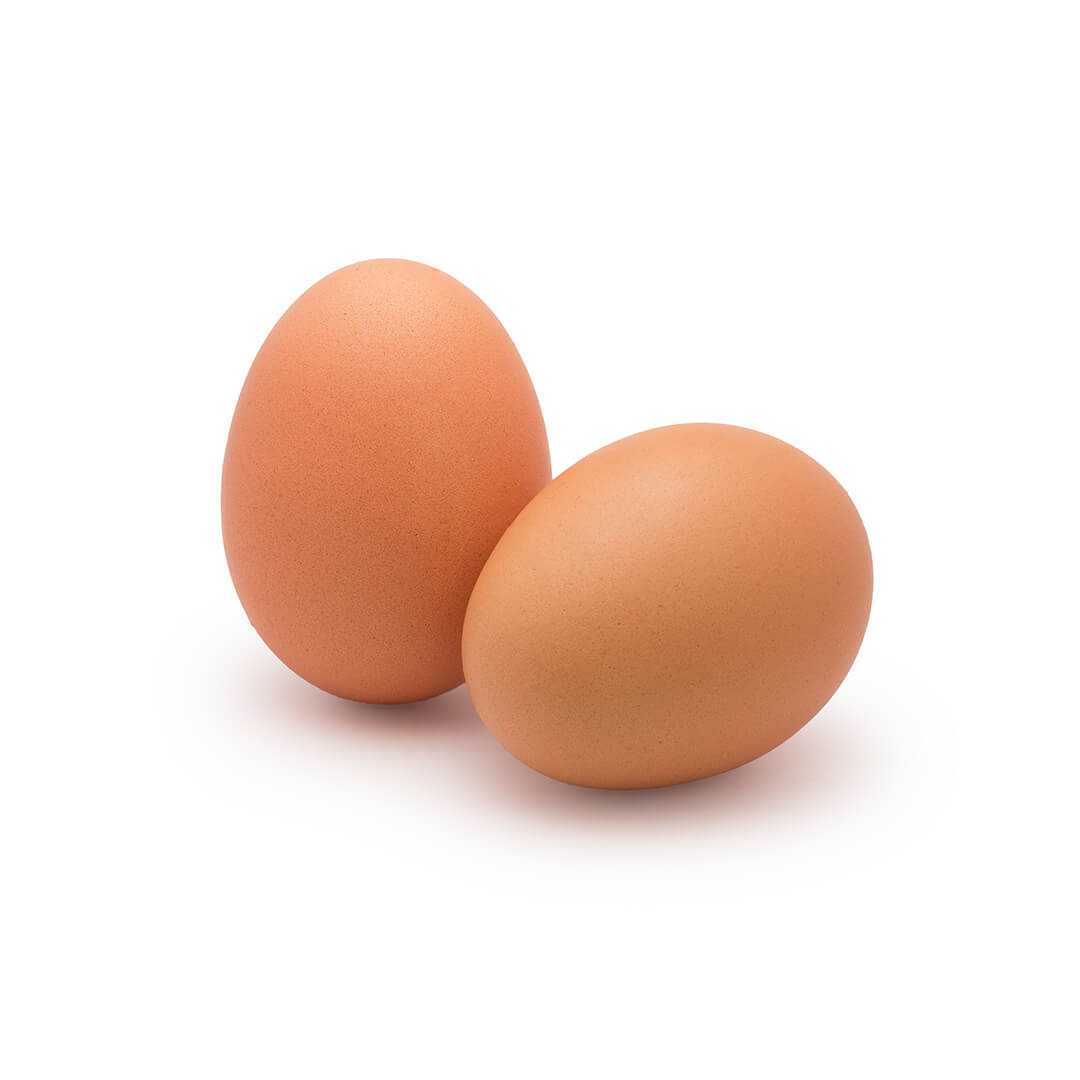
Medium eggs
Room temperature
For the raspberry sauce
Raspberries
Fresh or frozen
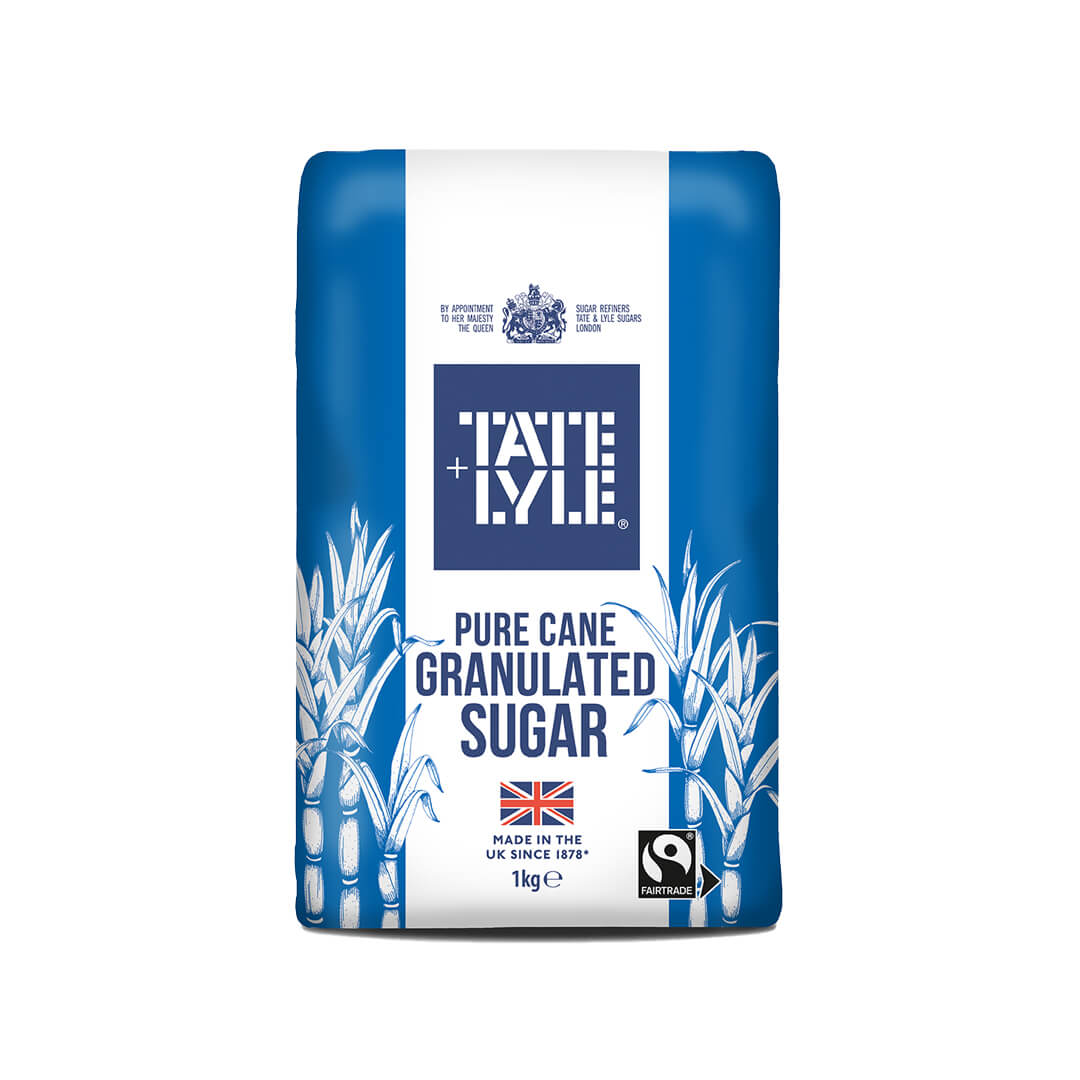
Tate & Lyle Granulated Sugar
Fresh raspberries
Rate this recipe!
Share your thoughts or advice
Good job, now enjoy!
Don't forget to share your creation using our hashtags in the chance to get featured.
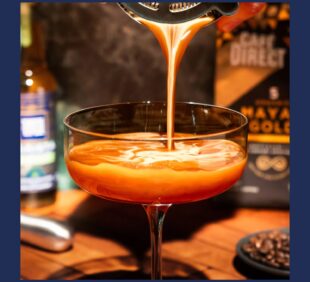
Great cold brew starts with great flavour ☕✨
Whether you like it smooth, sweet or a little indulgent, Tate & Lyle Flavouring Syrups make it easy to customise your perfect cup.
Our flavouring syrups are available on Amazon and at sugarandsyrup.com.

It’s officially jam season 🍓
From freshly picked berries to homemade preserves, Tate & Lyle Fairtrade Jam Sugar is here to help you make every batch beautifully sweet with the perfect set.
Find more jam-making tips and recipes on our website.
Link in bio!
Nothing beats a classic 🍋✨
This zesty Lemon Drizzle Cake is made with Tate & Lyle Pure Cane Caster Sugar for that perfectly light sponge and sweet, citrusy finish.
Ready to get baking? Find the full recipe on our website – link in bio.
Summer sipping made easy!
Our Strawberry Lemon Mojito with Tate & Lyle Golden Caster Sugar is the perfect match for sunny afternoons. 🍓🍋🎾
Find the recipe on wearetateandlylesugars.com
Please drink responsibly.
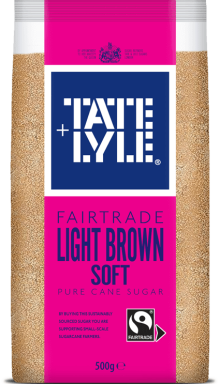
Celebrate National Fudge Day the right way!✨ Whip up a batch of blonde fudge with Tate & Lyle Light Brown Soft Sugar for that perfect caramel-y touch.
Find the recipe on https://www.wearetateandlylesugars.com
Take your BBQ to the next level! ☀️
Homemade ketchup that’s packed with flavour and effortless to whip up. Your friends will be impressed!
Find the full recipe on our website!
Savour the flavours of summer with these Feta, Red Onion & Cherry Tomato Tarts! A touch of Tate & Lyle Fairtrade Dark Soft Brown Sugar adds the perfect sweetness.
Perfect for a sunny picnic. Bake, pack, and enjoy wherever you like!
Find the full recipe on our website – link in bio.
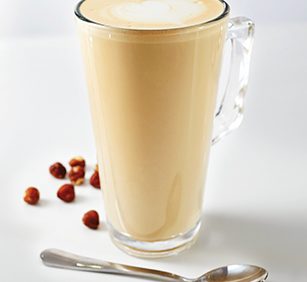
Make the perfect iced latte with a touch of Tate & Lyle syrup! Smooth, sweet, and totally refreshing.
What’s your favourite flavour? ☕✨
Our flavoured syrups are available on Amazon and at sugarandsyrup.com.
Our Products
View all products